
By Mario Rojas, Senior Security Researcher
In the previous posts, we have explored how to set up and customise a Google Custom Search Engine (CSE) to streamline your OSINT and threat intelligence research. Now, we’ll take it a step further by accessing your CSE results programmatically using the Google Custom Search JSON API.
This API allows you to automate queries, retrieve results in a machine-readable JSON format, and integrate the search functionality into your existing workflows. Whether you’re building a vulnerability tracker or developing automated alerts for threat actors, the API unlocks a whole new level of efficiency and scalability.
Step 1: Understanding the Google Custom Search JSON API
The Google Custom Search JSON API is a powerful tool for interacting with your CSE programmatically. Here’s what you need to know:
Key Features:
- Query your CSE programmatically and retrieve search results in JSON format.
- Apply advanced filters, such as refinements or query additions, directly through the API.
- Process the returned data for further analysis or integration into other tools.
Limitations:
- Query Limits: By default, the API allows up to 100 free queries per day. If you need more, you’ll need to enable billing and purchase additional quota.
- Pagination: The API supports pagination but limits each request to returning a maximum of 10 results. You’ll need to iterate through pages for larger result sets.
- Search Results: Only the top-ranked results are returned, as determined by Google’s ranking algorithm.
The API is ideal for automating routine searches or integrating CSE results into dashboards, scripts, or larger OSINT frameworks.
Step 2: Setting Up the API
Before you can start using the API, you need to set it up in the Google Cloud Console. Follow these steps:
Enable the API:
1. Visit the Google Cloud Console.
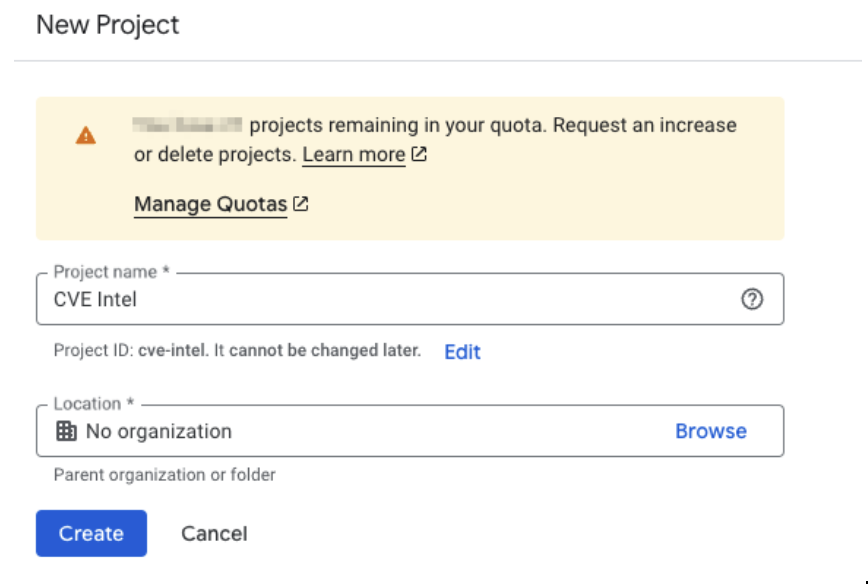
2. Create a new project or select an existing one
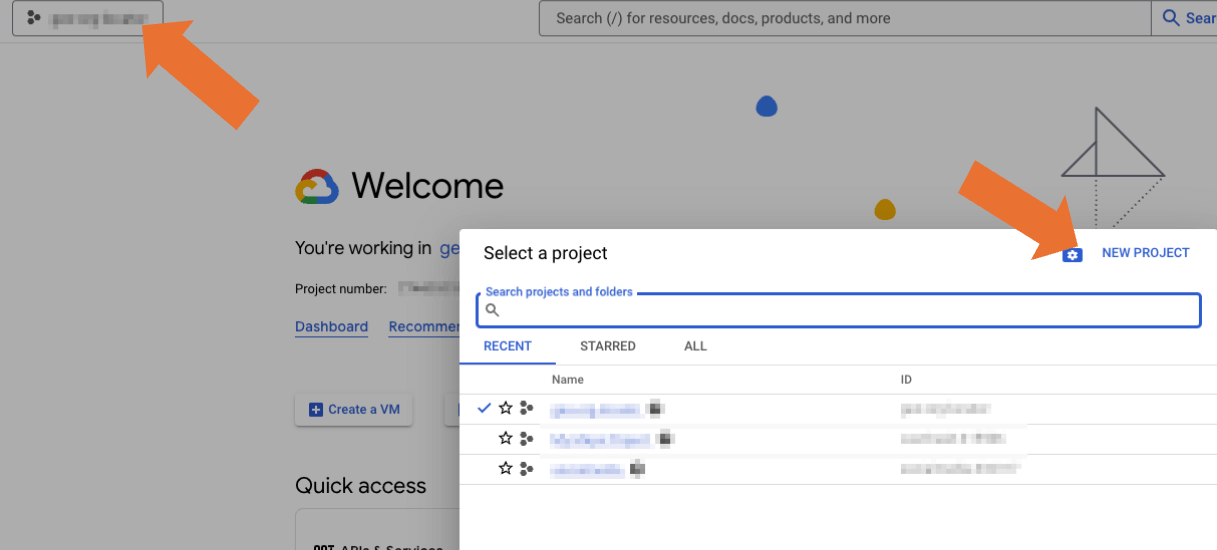
If this is a new project, select a name you can easily associated with your CSE.
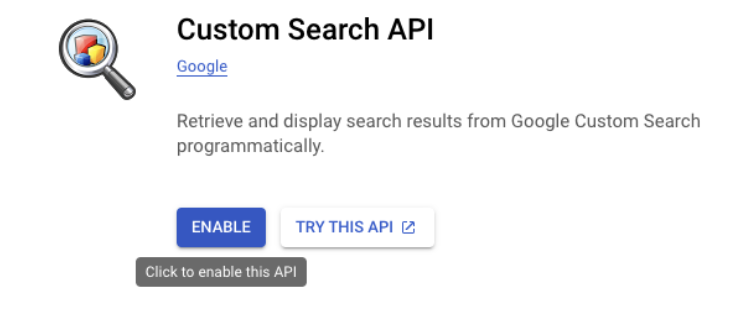
3. Navigate to the API & Services section and search for "Custom Search API."
4. Enable the API for your project.
Obtain an API Key:
1. In the same console, go to Credentials > Create Credentials > API Key.
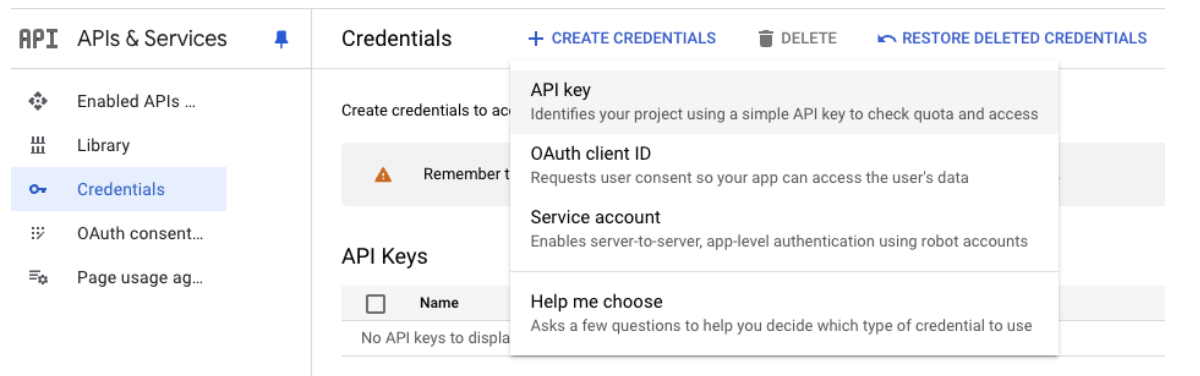
2. Copy the generated API key and store it securely, as it will be used to authenticate your requests.
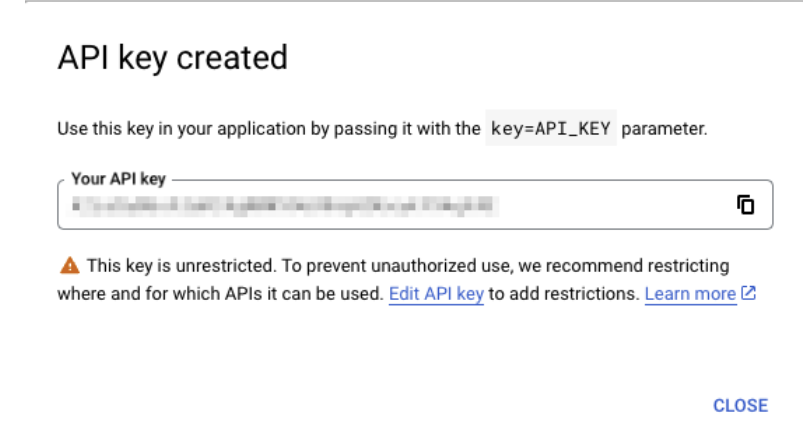
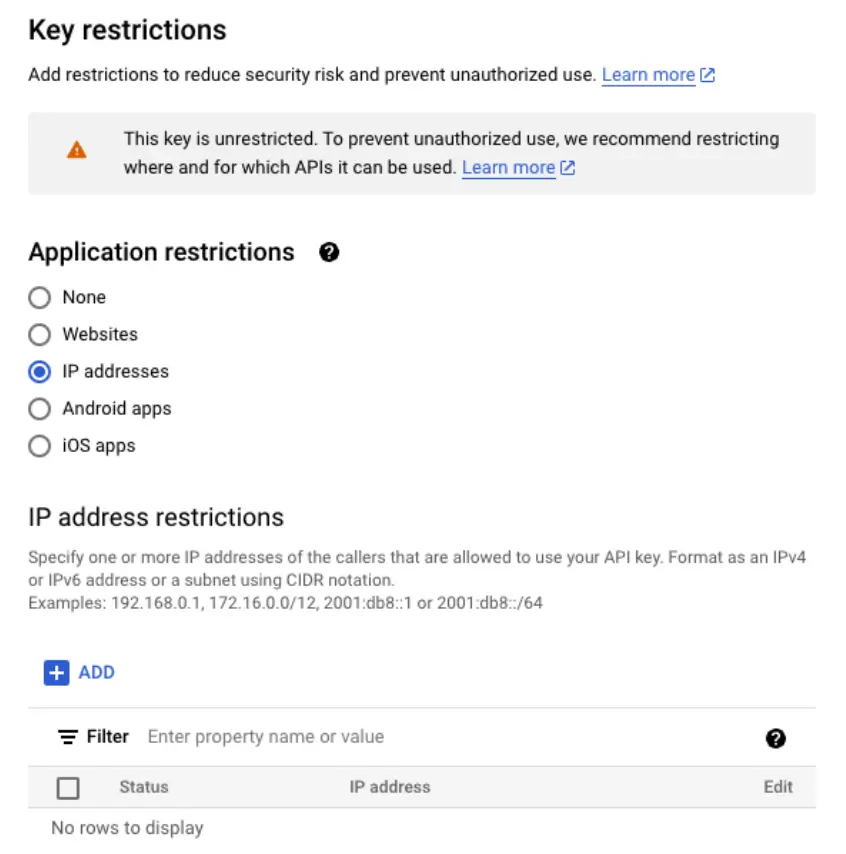
3. (Optional) You should consider restricting access to your API key by clicking Edit Key. The easiest way is to restrict by IP address or Subnet, this will make sure your API key cannot be used by unknown individuals.
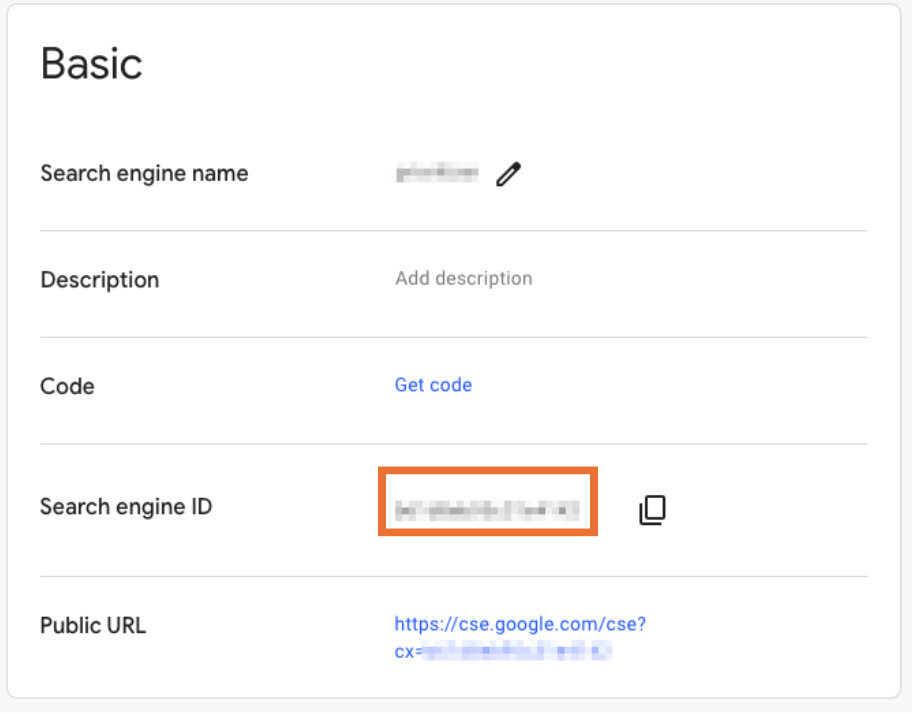
Link Your CSE:
In your CSE dashboard, locate your Search Engine ID under the Setup tab. Copy this ID, as it is required to direct API calls to your specific CSE.
Step 3: Making Your First API Request
With your API key and CSE ID ready, you can now make your first request.
1. API Request Format: Use the following base URL to construct your request:
Replace QUERY with your search term, API_KEY with your API key, and CSE_ID with your Custom Search Engine ID.
2. Example Using cURL: Open a terminal and run the following command:

3.Understanding the JSON Response: The API will return a JSON object containing search results.
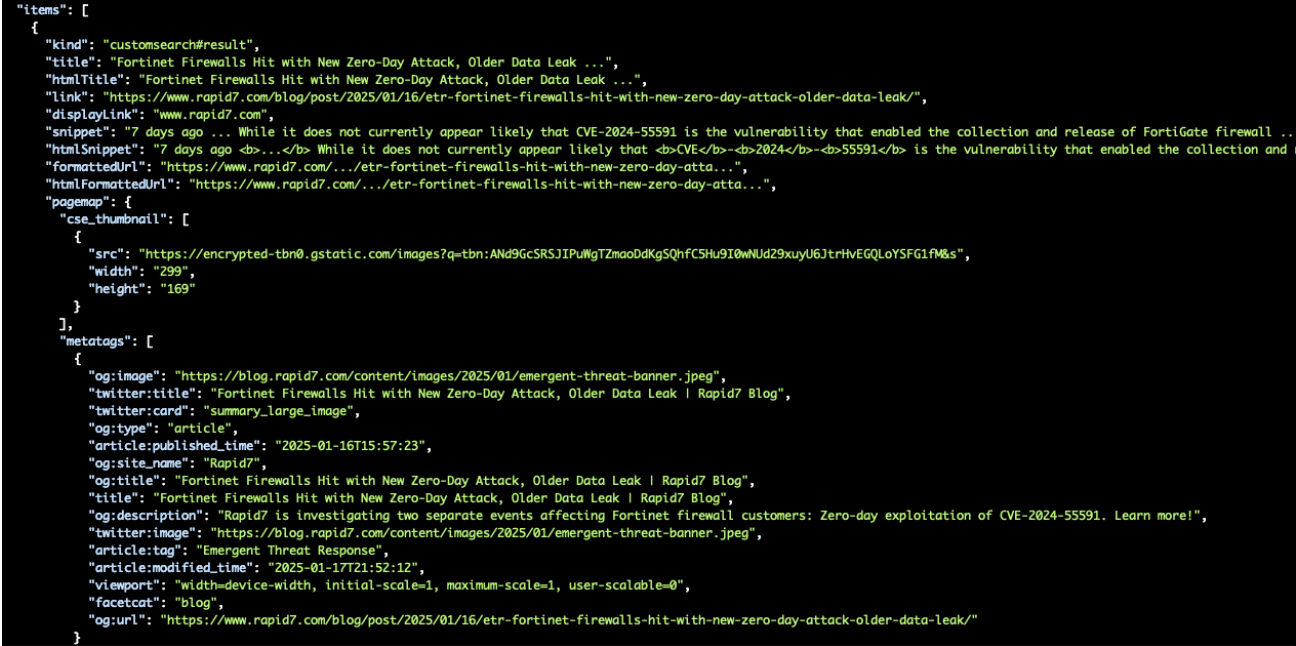
As you can see above, you get a wealth of information in the results, below are some of the key fields:
- items: An array of search results.
- title: The title of the result.
- link: The URL of the result.
- snippet: A brief description or excerpt.
Step 4: Automating Searches with Python
Although I love Curl (thanks Daniel for the Curl project), we should take advantage of python to automate our searches.
Let’s start by creating a python file, for this you can use advance tools like an integrated development environment (IDE) or something as simple as a text editor, just make sure the name of the file ends with .py. Here’s a sample file:
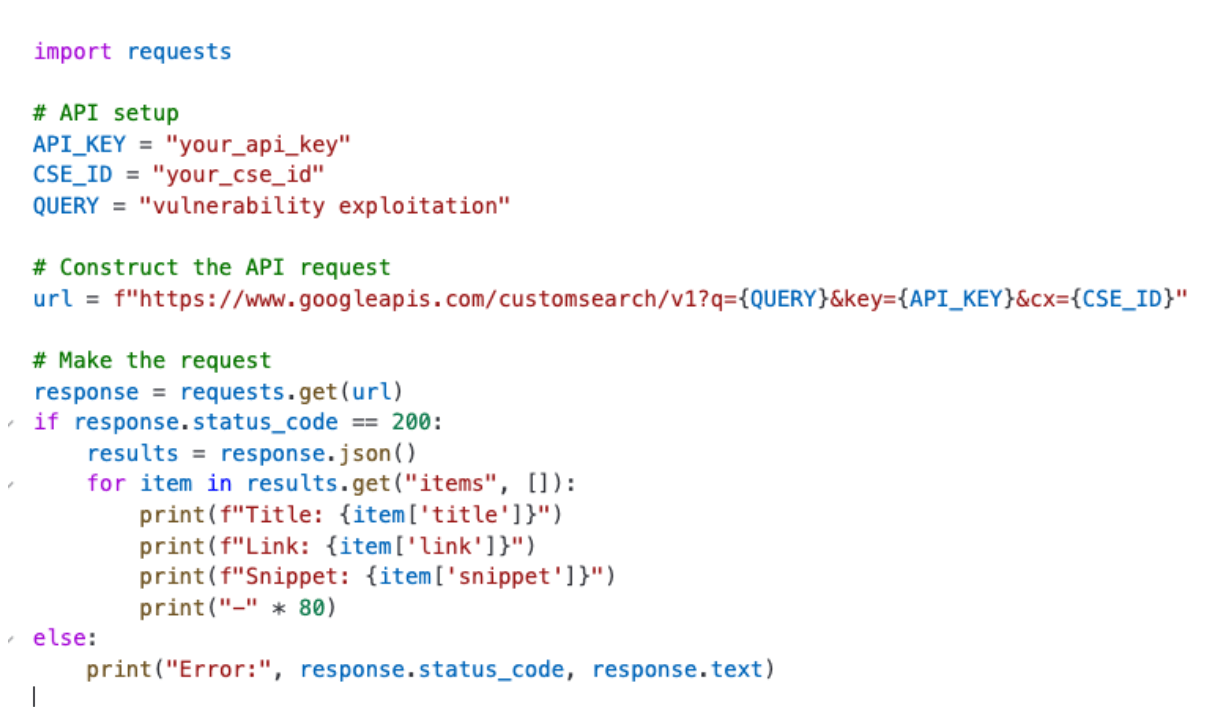
This script:
1. Sends a query to your CSE.
2. Parses the returned JSON for key information.
3. Prints the top results in a readable format.
You can extend this script to save results to a database, trigger alerts, or integrate with other tools.
Step 5: Practical Use Cases for OSINT
The API is highly versatile, especially for OSINT and threat intelligence tasks. Here are some ways to use it:
1. Automated Search Monitoring:
- Schedule API queries to run periodically (e.g., daily or weekly) and monitor for new mentions of vulnerabilities, exploits, or specific threat actors.
2. Integration with Dashboards:
- Feed API results into tools like Kibana, Splunk, or custom dashboards to visualise trends and patterns over time.
3. Keyword Alerting:
- Combine the API with alerting tools to notify your team when specific keywords appear in search results (e.g., “0-day exploit” or “CVE-2025”).
Conclusion
Accessing Google CSE results via the JSON API unlocks endless possibilities for automation and integration. From automating repetitive searches to feeding results into larger OSINT workflows, this API is a game-changer for streamlining threat intelligence research.
Get started by setting up your API key, testing your first query, and experimenting with Python automation. In the next post, we’ll cover best practises for maintaining and optimising your CSE to ensure it evolves with your needs.